Measuring the Performance of Near-Infrared (NIR) Light for Facial Recognition

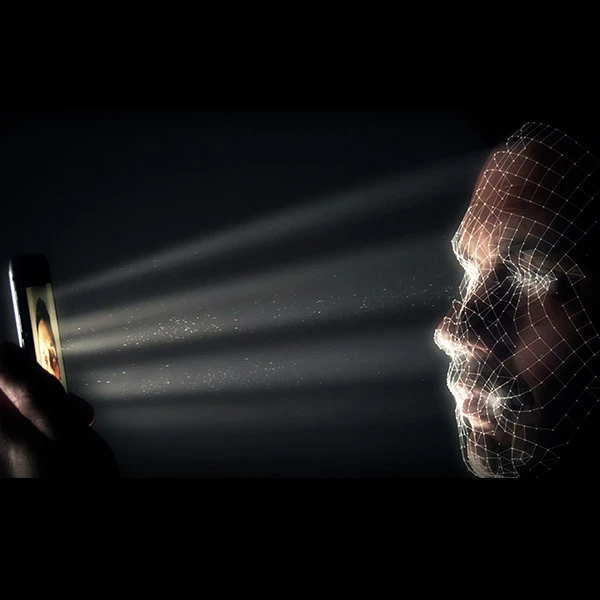
Facial recognition is fast becoming the preferred biometric authentication methods with increasing demand coming from consumer electronics applications such as smartphones, laptops, and tablets. The facial recognition technology uses near-infrared (NIR) light, produced by LEDs and lasers, to project an invisible grid or dot pattern, created using a filter called diffractive optical element (DOE), onto a person’s face. A NIR camera then captures and analyzes the reflection of those grid or dot patterns for any deformations to create a 3D contour of a person’s face that will be used to verify a user’s identity.
While the 3D NIR facial recognition technology is more accurate than the previous 2D (photographic) techniques, it is still prone to performance issues like emission points in the wrong position, low-output emissions, or inconsistent NIR light source intensity. Besides the quality and performance issues, there are also safety concerns on the NIR light. While the NIR wavelengths, range around 700 nm to 1500 nm, is invisible, they can still enter our eyes and cause damage to the cornea and retina after long exposure. Careful design and testing must be in place to ensure the appropriate levels of intensity are emitted to prevent harm to a user when exposed over time.
When it comes to measuring NIR sources, an ideal measurement system should be capable of capturing and measuring various parameters like emission uniformity and distribution, spatial position, radiant flux, and maximum intensity or power, across the entire distribution area.
One of the challenges when attempting to evaluate the performance of NIR is the difficulty in capturing NIR light in angular space. As NIR light emits light in 3D angular space, each dot in a DOE pattern may vary in their position or intensity depending on their emission angle. To ensure the DOE patterns are projected accurately with each dot having sufficient intensity, measurement must be performed at each emission angle.
Traditionally, an NIR light source is rotated using a goniometer and photodetector to capture the 2D images of emissions at each angle. However, this method is time-consuming as huge amount of rotations is required to capture a full angular measurement. Furthermore, angular data points may be missed during the goniometric measurement between rotations.
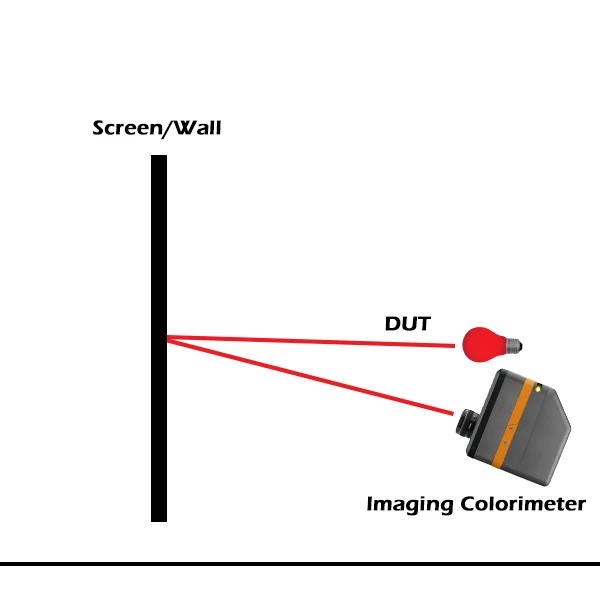
Another common challenge is the difficulty in evaluating the accuracy of the DOE dot pattern as a whole. Traditionally, DOE generated patterns cast against target patterns or coordinates on a wall or screen to evaluate DOE emissions. This method proves a simple pass/fail evaluation on whether the pattern matches but is insufficient in providing radiometric data (e.g., radiant intensity) of the DOE emission point.

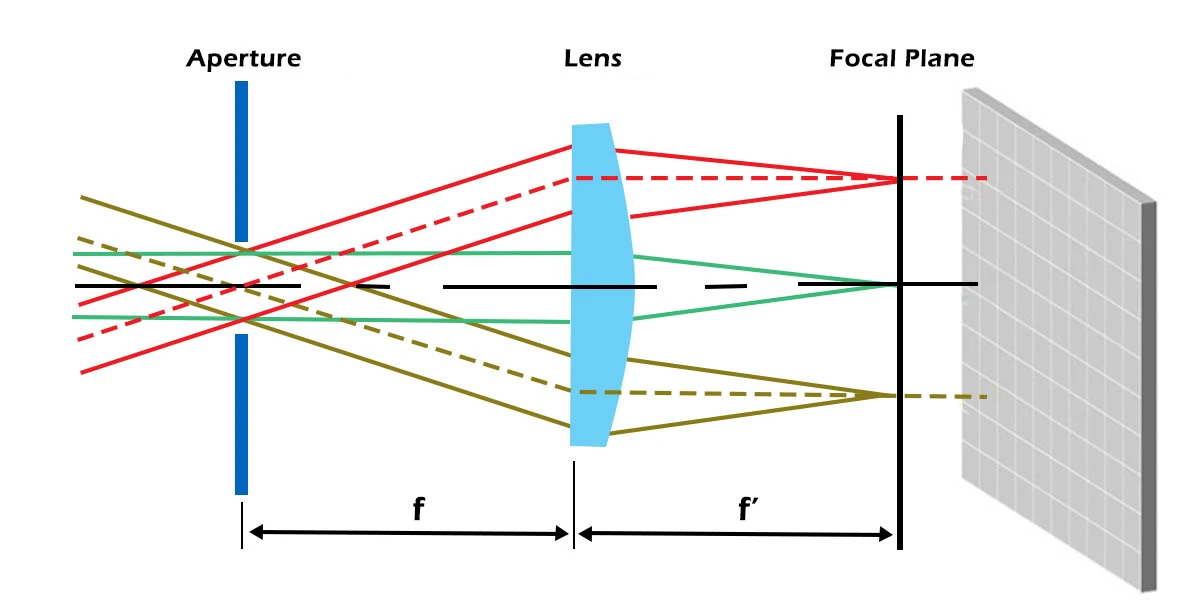
Konica Minolta, together with Radiant Vision Systems, provides a comprehensive NIR test solution that provides fast and accurate NIR radiant intensity distribution measurement. The NIR test solutions feature a CCD-based ProMetric Y Series Imaging Photometer and NIR Intensity Lens that utilize Fourier optics that eliminate the need for rotation by capturing all angular emission data from a single point.

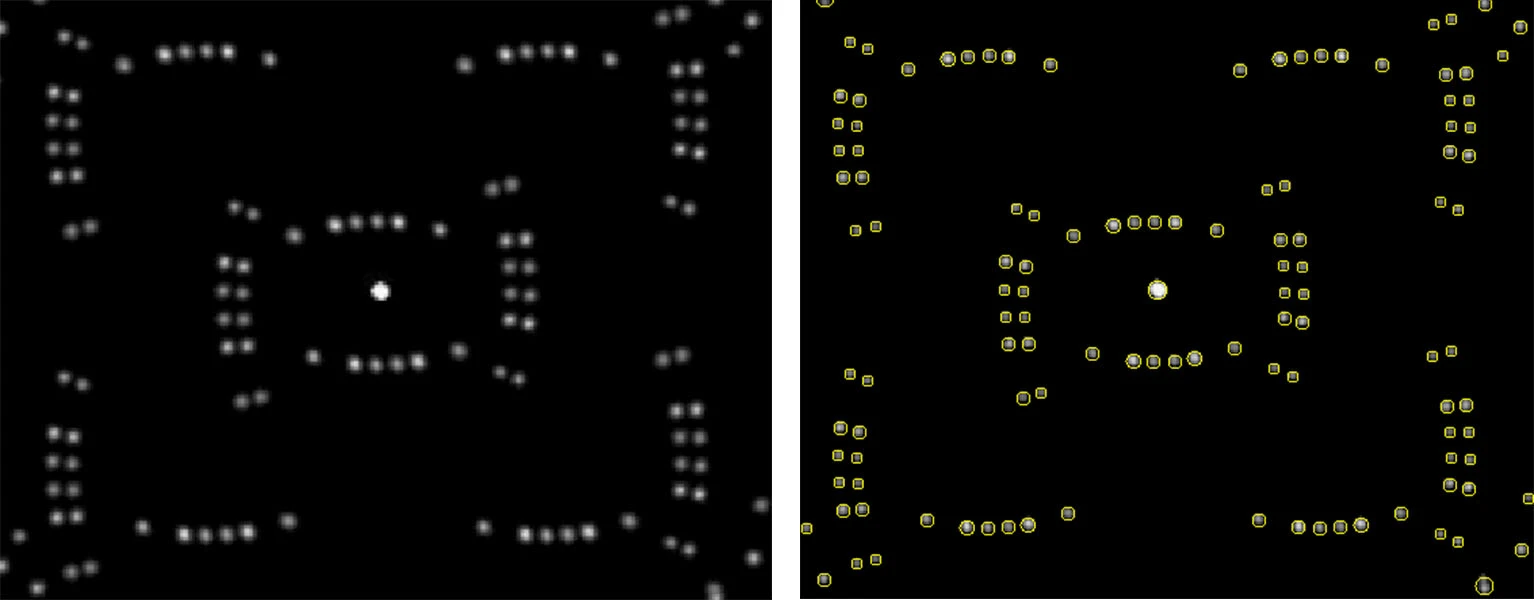
Together with the optional TrueTest software and TT-NIRI software module, the NIR test solution is capable of measuring all the dots in a DOE pattern to ensure that patterns are at the right position/angle and intensity. Also, the NIR test solution can measure parameters like the maximum peak and its average, maximum peak solid angle, spot power uniformity, total flux, DOE flux, etc.

Download the spec sheet to learn more about the Radiant Vision Systems NIR test solution.
With the rapid adoption of devices that utilize NIR emitters for 3D sensing comes a growing demand for innovative and effective methods to ensure the accuracy and performance. Whether you are looking for information or seeking solutions, check out our range of advanced testing solutions to find out more.
Need help finding the right instrument and solution for your measurement needs? Contact us to arrange a free consultation with our application specialists.
